Setting up your FibreNest Pod
Downloading & launching the app
Please make sure you have the following:
- Mobile device with mobile data
- Access to your email account from your mobile device
- Bluetooth enabled
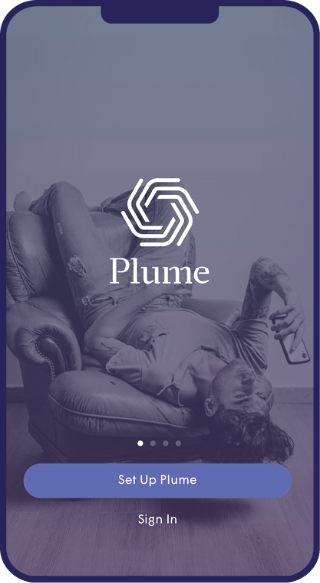
- Download the HomePass app by Plume


The HomePass by Plume app is designed for mobile, although may work on some tablets.
- iPhone 5s, iOS 11.0 or higher
- Android 4.4 or higher
If you don't have a compatible Smartphone or are otherwise unable to download the app, please call us. If needed we can remotely set you up.
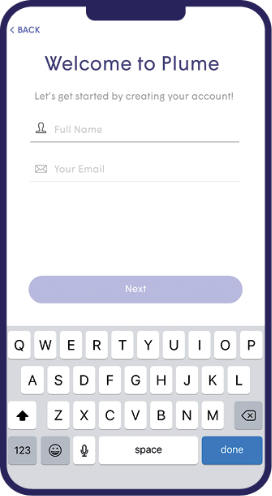
Account set-up
- Choosing the Setup Plume option, the app will prompt you to enter your name and email address (we recommend you use the same email address you used to sign up to FibreNest).
- Next set-up step is for you to choose your Plume account password, which must be at least 8 characters long.
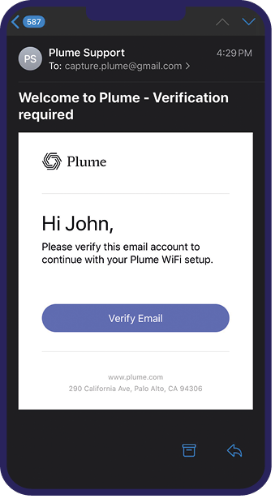
An email is sent please check your email and click on the Verify Email
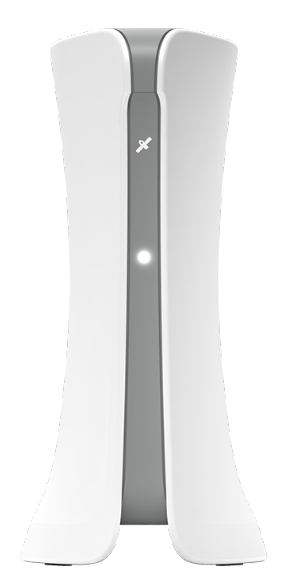
Connect your FibreNest pod
- Connect the supplied Ethernet cable between the FibreNest wall box and the black port on the FibreNest Pod Labelled 2.5G WAN
-
Plug pod into power
- The LED will turn solid green for a moment and will begin to slowly pulse green
- Stay close to the pod so the app can find it via Bluetooth.
- The LED will continue to slowly pulse until the pod is connected and set-up.
- Tapping on the Next button, goes through the steps in order.
An email is sent please check your email and click on the Verify Email

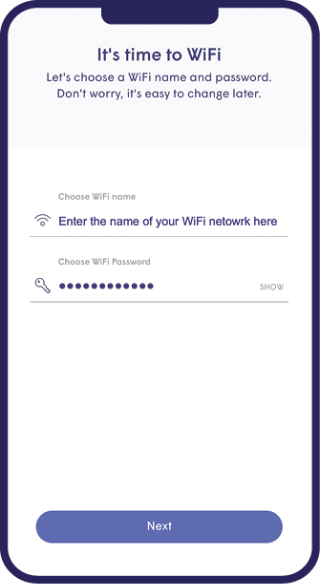
Set-up the new WiFi
- Once connected, the app will prompt you to input your new WiFi name (SSID) and Password.
- To simplify the set-up, you can use your pre-existing SSID and password. This will allow all devices to easily switch to the new WiFi network once the old one has been turned off, without needing to update credentials on every single WiFi client.
- Alternatively, this could be an oppourtinity to set-up a completely new WiFi network name and/or password. This would help ensure that the new WiFi network starts off as securely as possible.
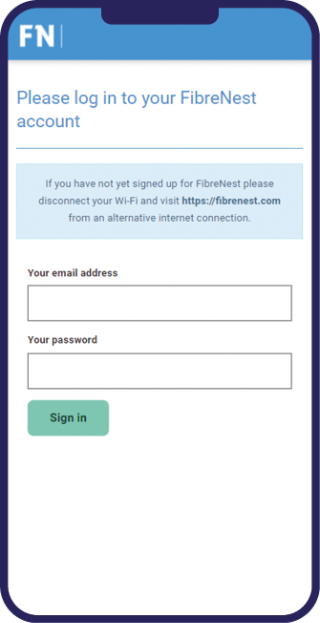
Activate your broadband service
- Once your smart device is connected to your WiFi network, you should be automatically directed to our Service Activation page.
- Activation page not loading, or just getting a blank screen? Try this process again on a different type of device if possible. For example try using an iPhone or a laptop if you are having problems setting up your FibreNest Pod using an Android device (or vice-versa).
- If you have tried this and are still having problems, try visiting this page once you have connected to your WiFi.
- Login using the email address and password you used to register for FibreNest and follow the on-screen prompts to get online.
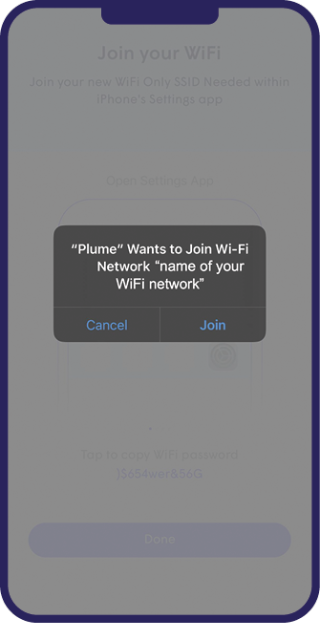
Step 6
Join your WiFi
- After about 5 minutes the app will prompt you to join the new WiFi network.
- Tapping on Join will take you out of the app and into the WiFi settings so you can join.
- Once back in the HomePass app, a Welcome Aboard message indicates that the device is now connected and the new WiFi network is operational.
Customer Tip
If you use the same name and password as your previous WiFi network, all of your existing devices should connect automatically.
Need help setting up your equipment?

Our UK call centre is available 7 days a week
Monday to Friday, 8am - 8pm
Saturday and Sunday, 9am - 5pm.
![]() Call us on 0333 234 2220
Call us on 0333 234 2220
 Or Email support@fibrenest.com